Installation of Desktop Director 2.1 for XenApp 6.5
Website Visitors:
Contents
Requirements
-
A XenApp 6.5 Farm
-
An available server to install Desktop Director, it can also be added to the XenApp 6.5 Controller
-
An install Media for XenDesktop 5.6 Feature pack 1
-
IIS 7 installed on the server that hosts the Desktop Director
-
.NET Framework 3.5 Sp1
-
Adobe Flash 10.x or above
-
Firewall exceptions for port 80, 2513 and 5985
Procedure
- Ensure you have downloaded the ISO for XenDesktop 5.6 Feature pack 1; it is needed this for the DesktopDirector install
- If it is not already installed on the operating system, install .NET 3.5 Sp1 and Adobe Flash 10.x or above.
- Mount the XenDesktop ISO and launch the autorun option from the media and select the XenDesktop Option. Agree to the Licensing Agreement on the next page.
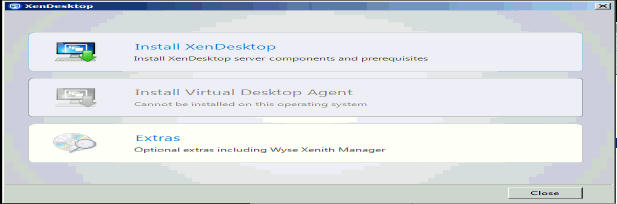
XenDesktop install wizard - Select Desktop Director on the Select Components to Install and input the XenApp 6.5 controller FQDN in the Enter the address of the XenDesktop Controller field. Note: If the XenDesktop Controller option is not displayed, you are installing on a XenApp 6.5 server.
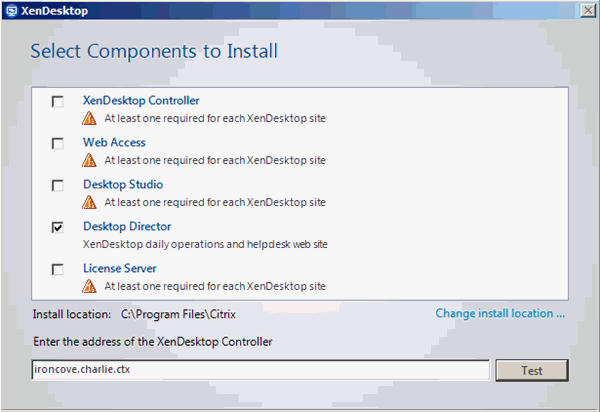
Director Component Selection - Click Next, at the install prompt, click the Install tab. When the installation completes, click Close.
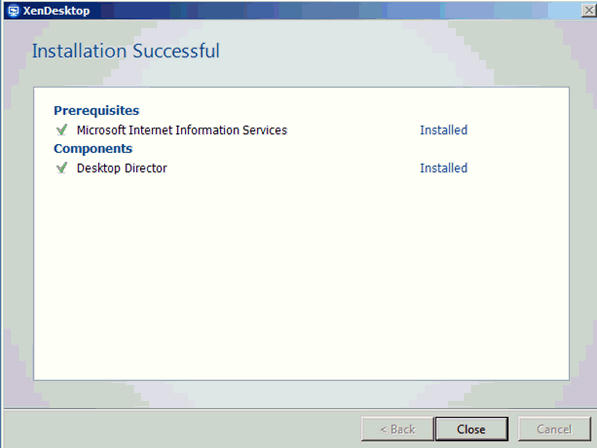
Install Successful Wizard - Open IIS Manager on the Desktop Director Server to be able to log on to the Desktop Director Console. Select the Desktop Director site under Default Web Site

IIS Manager - Locate Service.AutoDiscoveryAddresses in Application Settings. Double click this option and rename it toService.AutoDiscoveryAddressesXA and ensure the controller FQDN is present.Note: If you have installed this on a XenApp 6.5 server and you are not able to enter the FQDN of the controller at installation, you can change it from Localhost to Your 6.5 Controller FQDN here, refer following image:
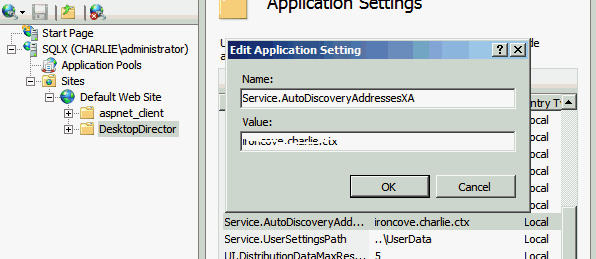
Service.AutoDiscoveryAddresses - Run an IIS reset in the command prompt after the above options are updated. Note: You will be able to log in now, however you will not be able to view user-session specific details yet. You must follow the subsequent steps to be able to log in and view user-session specific details.
- On the XenApp 6.5 controller, setup the WinRM permissions using a tool in the XenDesktop 5.6 FP 1 ISO (previously called ConfigRemoteMgmt.exe which was used to access information about session).
- Open the command prompt window, browse to the following directory and run the application
:\x64\Virtual Desktop Agent\ConfigRemoteMgmt.exe. Use the switch - ConfigRemoteMgmt.exe /configwinrm Domain\User. 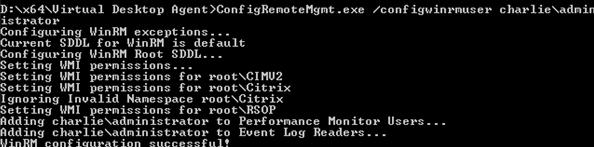
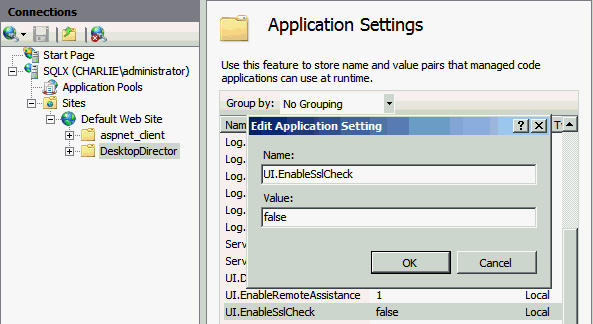
Configure Remote Management - The user-session specific information can be viewed if the XenApp 6.5 Controller has its permissions set for remote management.Note: If you are not setting up certificates on the server for SSL, you can disable the SSL verification by changing the UI.EnableSslCheck to false.

UI.EnableSSLCheck
Posted in CTX135749
Want to learn more on Citrix Automations and solutions???
Subscribe to get our latest content by email.